
Most of the clients who come in with a locked-up mid-back describe it the same way. It's not sharp, it's not an injury, it's just stuck, like the ribs and spine in that area stopped wanting to move at all. I hear it from people who sit at a desk all day and I feel a version of it myself from leaning over a massage table four days a week. Pete's Choice Yoga Wheel is the tool I reach for first, before any stretch, any lift, before anything else in my morning. Not because it's magic. Because thoracic tightness responds well to a specific kind of loaded extension, and a wheel is one of the simplest ways to get that loading without needing another person in the room to help you.
This is the actual routine, step by step, the way I do it in my own spare bedroom and the way I've walked a handful of clients through it once they asked what I use on myself. It's not a substitute for a real assessment if something in your back is acutely painful rather than just tight, and I'm not diagnosing anyone reading this. It's built for the ordinary stiffness that comes from forward posture, whether that's a desk, a steering wheel, or a treatment table, and it works the same way no matter which one put you there.
Before You Try Another Stretch That Doesn't Hold, Try Loading the Joint Instead
Pete's Choice Yoga Wheel is the tool behind every step in this routine. Check today's price and current rating on Amazon before you start.
Amazon Check Today's Price on Amazon →Step 1: Set Up in a Space You'll Actually Use
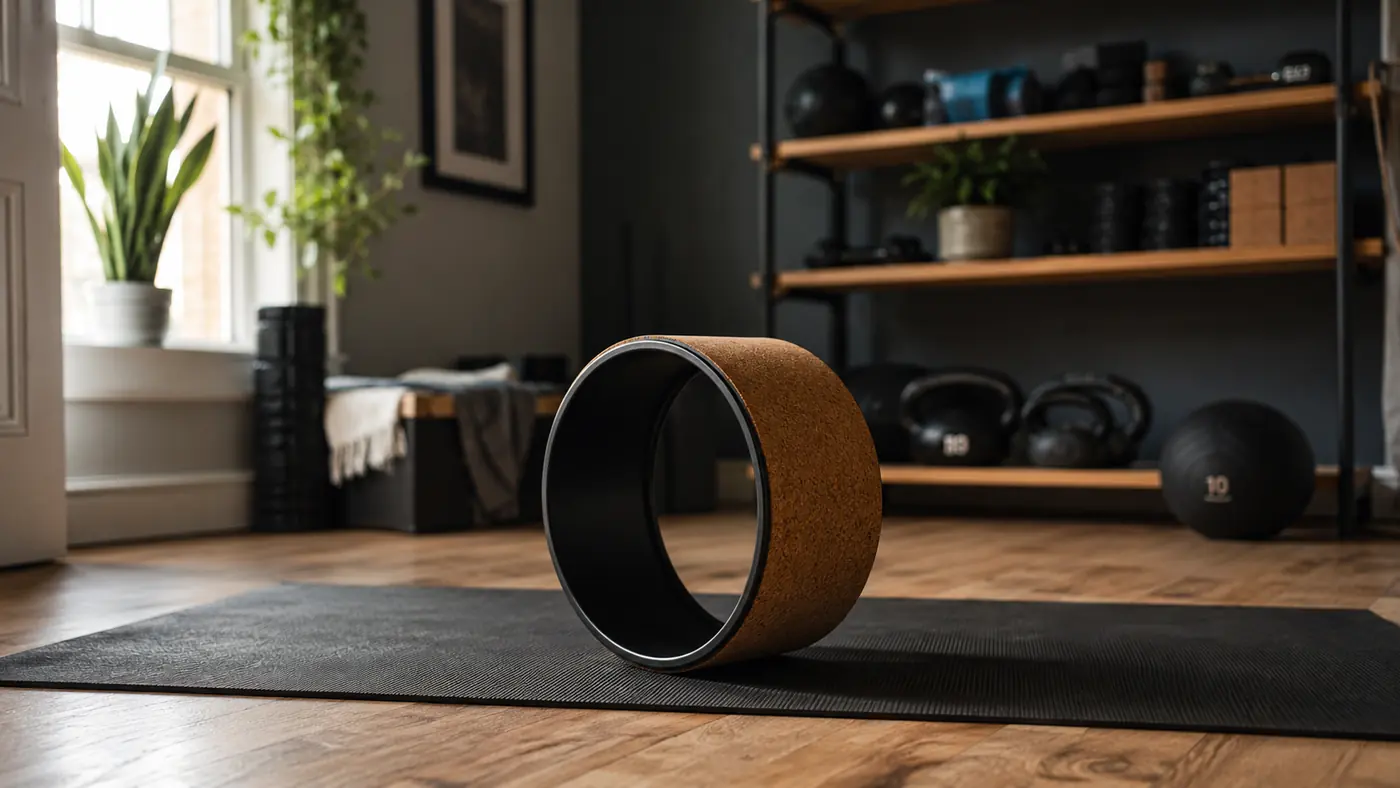
The wheel does nothing sitting in a closet. Mine lives on a shelf in my spare bedroom, right next to the rubber mat I already have down for lifting, alongside a small rack of other recovery tools. If it isn't within arm's reach of where I'm already going to be, I skip it, and I've watched the same thing happen with clients who buy a tool, put it somewhere out of the way, and never touch it again until they're cleaning out a closet a year later.
You don't need a dedicated room. A patch of floor big enough to lie down with your arms out works fine. What matters more is picking a spot you pass through daily, so the wheel becomes a visual cue instead of something you have to remember to dig out from under a bed. I keep mine visible the second I walk in to lift, which is exactly when I need it most, before the first set rather than as an afterthought once I'm already sore.
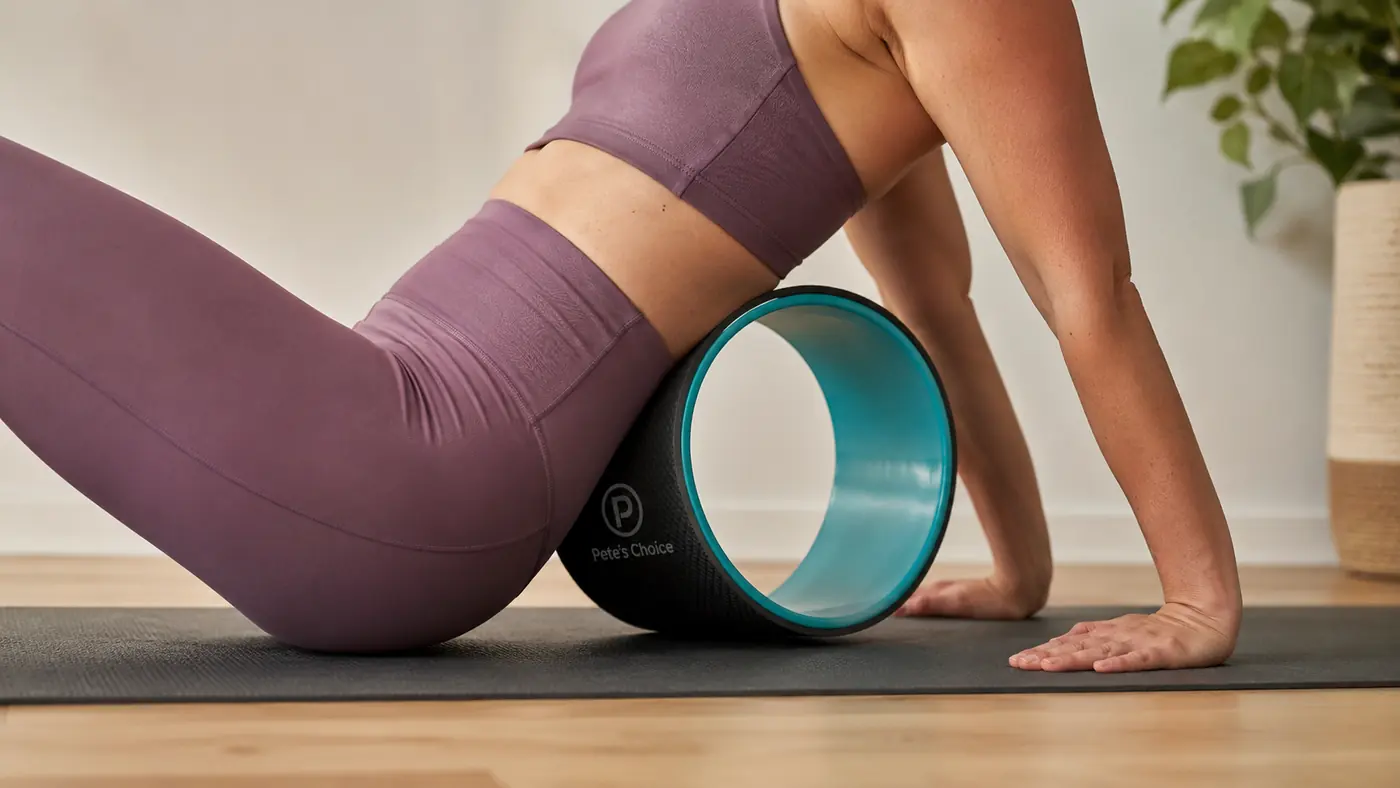
A hard floor is fine, but a mat or a folded towel underneath softens the first few sessions considerably. If your thoracic spine is very stiff, that padding under your hips and shoulders matters more than people expect going in. I didn't use one my first week and regretted it by day three, when the same bony pressure points that felt fine on day one started to feel like the actual limiting factor instead of the tightness I was trying to work on.
Step 2: Warm the Tissue Before You Load It
I don't roll on the wheel cold. Two or three minutes of easy movement first, cat-cow on the floor, a few slow arm circles, maybe a lap around the room just to get blood moving, changes how the first roll feels almost every time. Cold thoracic tissue over a hard plastic wheel is uncomfortable in a way that has nothing to do with the tool and everything to do with skipping this one small step before you get on it.
This matters more in the morning than any other time of day, and mine is always a morning routine, right before I lift. First thing after getting up, the mid-back is stiffer than it will be by noon, so the warm-up isn't optional then. If you're doing this in the evening after you've already been moving all day, you can shorten it, but don't skip it entirely just because you feel looser than you did at six in the morning.
Breathing counts as part of the warm-up too. A few slow breaths where you actually try to expand your ribs sideways and up, not just into your belly, wakes up the exact muscles that are about to get loaded on the wheel. It sounds small, almost too simple to matter. It changes how the first roll feels almost every time I skip it versus the times I actually take those extra thirty seconds first.
Step 3: The Basic Segment Roll From T4 to T10
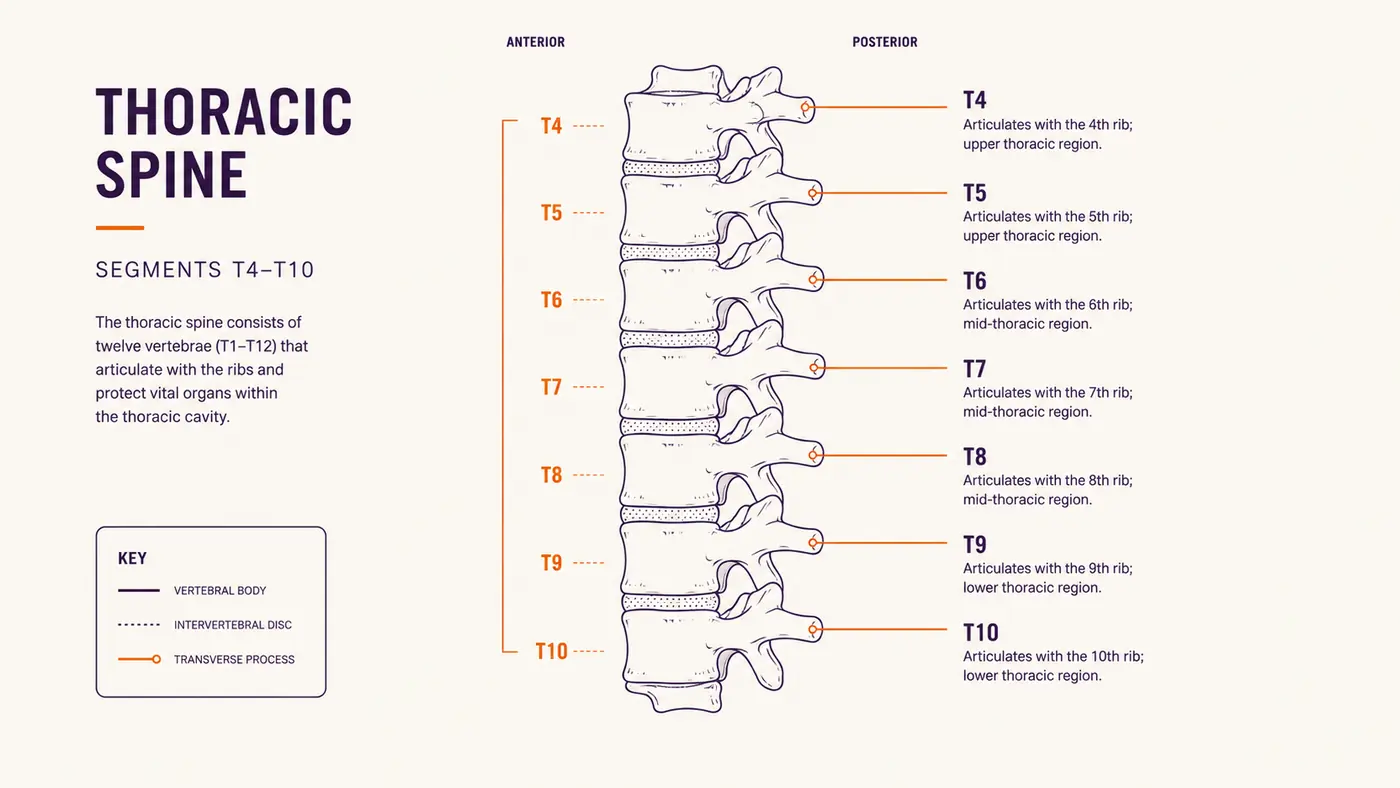
Sit on the floor with the wheel behind you, knees bent, feet planted. Roll back slowly until the wheel sits under your mid-back, somewhere around the shoulder blades to start. Hands go flat on the floor for support at first, since trusting the position under your own weight takes a session or two before it stops feeling precarious. Roll slowly down toward your lower ribs and back up, covering roughly T4 down to T10, which is the stretch of spine between the shoulder blades and where the ribs start to taper toward the waist.
The goal isn't speed. Roll slowly enough to feel where a segment catches, and when you find a spot that feels locked, pause there for a few breaths instead of rolling straight through it. That pause is where most of the actual change happens, in my experience and in what I see in clients who try to rush this part. Rolling straight through a stiff segment just skates past the exact spot that needed the extra time and attention.
Keep your chin tucked slightly rather than letting your head drop back hard, and keep the movement in the mid-back, not the neck or the lower back. If you feel it in your lower back specifically, you've likely rolled too far down toward the waist. My own chronic complaint sits in the lower back, and I never load the wheel there directly. It's built for the thoracic spine, not the lumbar spine, and the two don't respond the same way to this kind of pressure over a rounded surface.
Step 4: Add the Passive Extension Hold
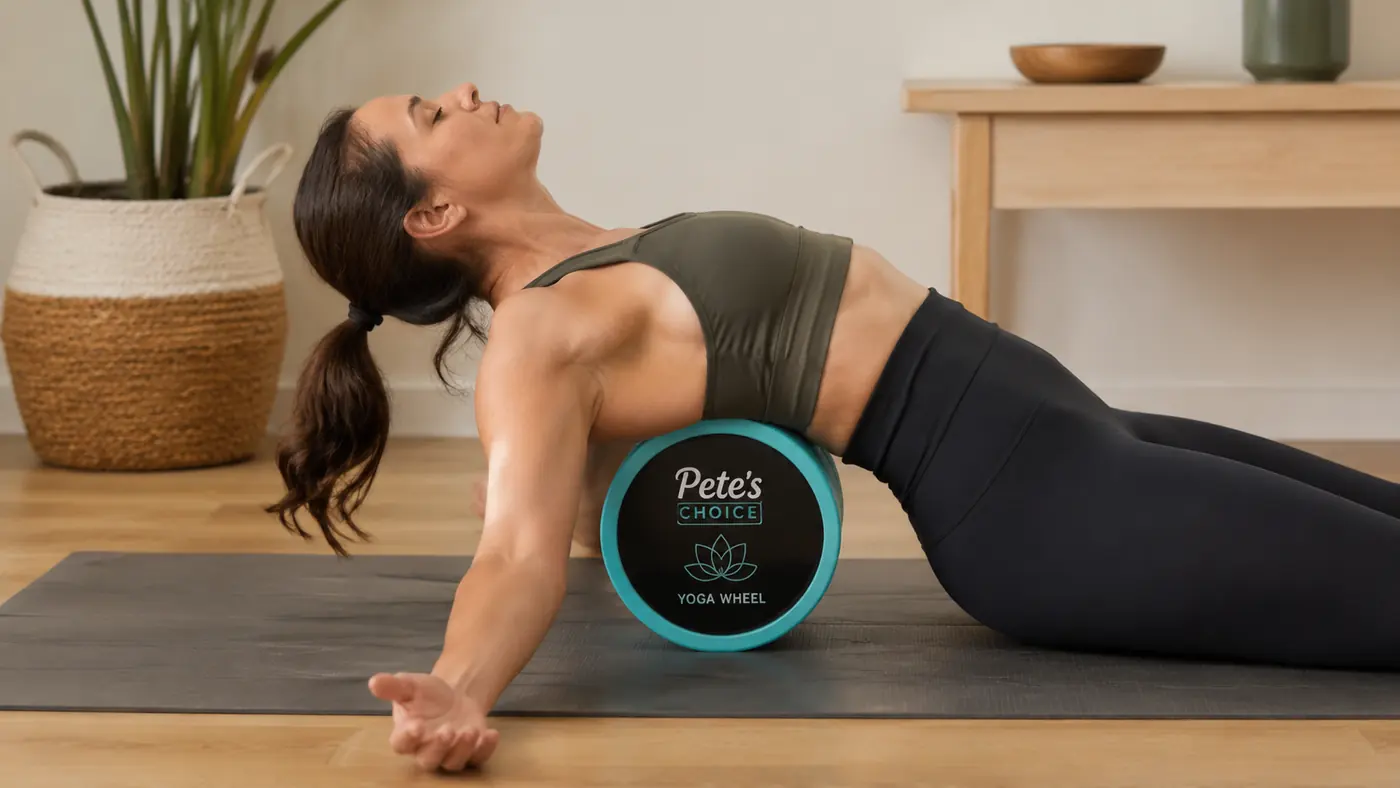
Once the active rolling feels manageable, usually after the first week, add a passive hold. Position the wheel under your mid-back the same way, then let your upper back drape backward over it and just stay there, arms relaxed overhead or resting on the floor, breathing slowly for thirty to sixty seconds without actively pushing into the stretch.
This ended up mattering more to me than the active rolling itself. There's something about letting gravity do the work over time, instead of actively pushing through the range yourself, that gets a stiffer segment to actually let go rather than just tolerate being moved through a shape. The strap that comes with the wheel is useful here if you're not ready to trust an unsupported hold yet. It lets you control exactly how far back you go instead of relying on gravity alone on day one, which I appreciated more than I expected to.
Come out of the hold slowly, rolling forward off the wheel rather than sitting straight up out of the position. Standing up too fast from a full extension hold can leave you a little lightheaded the first few times, which is normal, settles as your body gets used to the position, and is one more reason to keep this part unhurried instead of treating it like a race back to standing.
Step 5: Progress It Over Weeks, Not Days
This is the part people rush, and it's the part that actually determines whether the routine sticks or gets abandoned in a drawer somewhere. Week one is about tolerance. Five to seven minutes, three mornings a week, mostly active rolling with a short hold at the end. Don't add volume just because it feels fine on day two. Thoracic tissue responds slowly, and the real change shows up over three or four weeks of consistency, not one aggressive session where you try to force a whole month of progress at once.
By week three or four, most people can extend the passive hold longer and start noticing the rolling motion smooth out, with fewer catch points along the same stretch of spine that used to feel like a series of speed bumps. That's the point to add a second short session later in the day if you want it, or extend the morning session slightly. Resist the urge to add both volume and intensity at once. Pick one variable to push at a time and give it its own week before you touch anything else.
If you want the deeper comparison of why this loaded approach holds longer between sessions than a plain manual stretch, I wrote a full breakdown in the wheel versus manual stretching comparison, including the specific tradeoff I didn't expect going in myself. And if you want the longer view of what three months of doing exactly this looked like for me, day by day, that's in my full long-term review.
What Else Helps
Posture between sessions matters as much as the routine itself. I don't sit at a desk, but I lean over a table for a living, and I do client notes on a laptop at the kitchen counter most evenings, which puts me in the same forward-head, rounded-shoulder position a desk job would put anyone in over the course of a day. The wheel opens the segment. What you do with your body for the other twenty-three hours decides how long that opening actually lasts before the old pattern creeps back in.
A few reps of standing thoracic rotation, hands crossed over your chest, twisting slowly side to side, works well between wheel sessions on days you don't have time for the full routine. It's not a replacement, just a small maintenance dose to bridge the gap. Consistency across a training block beats any single perfect session, and that's true of this routine the same way it's true of everything else I coach clients through, whether it's a mobility habit or a strength program they're trying to stick with long term.
The wheel doesn't fix a locked mid-back in one session. It teaches the segment it's allowed to move again, one patient minute at a time.
This Five-Step Routine Is Still the First Thing I Do Before I Touch a Barbell
If your mid-back stays locked no matter how many stretches you try, load it instead. Check today's price and current rating on Pete's Choice Yoga Wheel on Amazon.
Amazon Check Today's Price on Amazon →