
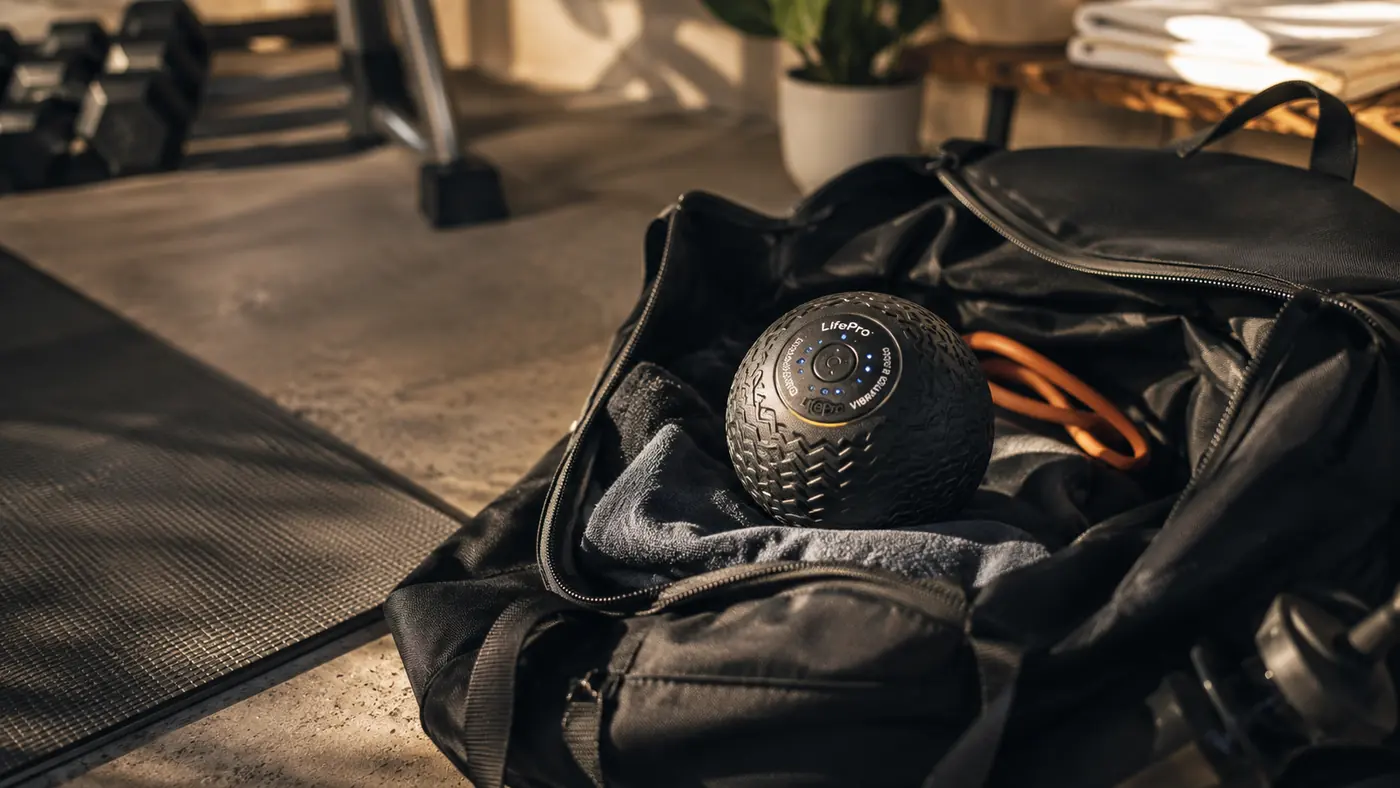
The knot in my left calf never showed up when I just rolled a large ball across the whole muscle. I'd glide right over it, feel general soreness spread across the area, and never actually find the tight, ropy band that was the real problem. It wasn't until I started using a vibrating massage ball, the kind small enough to dig into one specific spot instead of gliding past it, that I could actually find and hold the point that was causing the trouble. I'm a licensed sports-massage therapist, and this is the exact sequence I use on my own calves and glutes after a run, the same one I teach clients in the treatment room.
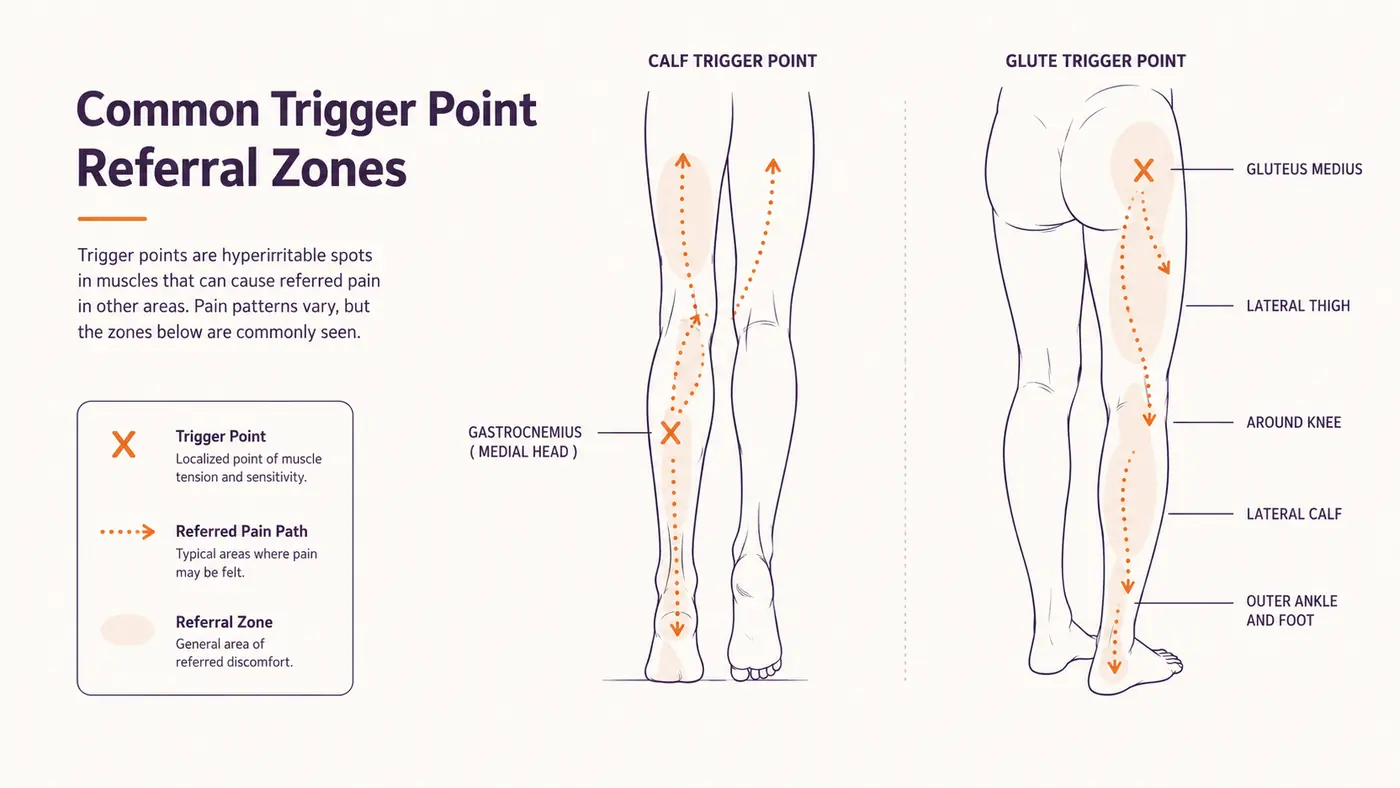
A trigger point isn't the same thing as general muscle tightness, and treating it like general tightness is the most common mistake I see. A trigger point is a small, hyperirritable spot inside a taut band of muscle fiber that refers sensation somewhere else, a glute trigger point can send an ache down the back of the thigh, a calf trigger point can mimic something that feels like it's coming from the ankle. Finding the actual point matters more than the tool you use on it, so before I get into how the LifePro Vibrating Massage Ball fits into this, I want to walk through the finding part first, because that's where most people go wrong. I got serious about this after my own running career, I was a mid-pack collegiate 800m runner, no records, no championships, and my body has never fully let go of that habit of pushing through a tight spot instead of stopping to find it. These days I train five days a week around a job that has me leaning over a massage table four days a week, so I go looking for trigger points constantly, in my own tissue and in the clients on my table.
Still Rolling Right Over the Knot Instead of Into It? That's the Ball That Actually Finds It.
The LifePro Vibrating Massage Ball is small enough to isolate one spot at a time and adds vibration on top of pressure, which is what actually gets a stubborn trigger point to let go. Check today's price and current rating on Amazon.
Amazon Check Today's Price on Amazon →Step 1: Find the Actual Trigger Point, Not Just the Sore Spot
Start with your hands before you ever pick up the ball. Press slowly along the muscle belly with a thumb or two fingers, not skimming the surface but sinking in gradually, and feel for a taut band, a rope-like strand that feels tighter than the tissue around it. Most muscles have some general tenderness everywhere, that's not what you're after. You're feeling for the one spot along that band that makes you flinch or makes the sensation jump somewhere else entirely, a glute point that sends a pull down toward the hamstring, a calf point that seems to radiate toward the Achilles.
In my own calves, the spot is almost always about a third of the way down from the back of the knee, just off the midline, in the meatier part of the gastrocnemius. In my glutes, after a long Sunday run, it tends to sit in the upper outer quadrant, not directly under the sit bone. I mark the spot mentally, sometimes literally with a fingertip pressed there while I reach for the ball with my other hand, because it's surprisingly easy to lose the exact location once you shift position. I run three times a week with a long run on Sunday that usually lands somewhere between eight and ten miles, and that long run is almost always what wakes the calf point back up, while the glute point tends to show up after a hard week of both running and lifting.
If you press around for more than a minute or two and can't find anything resembling a taut band or a referred sensation, that's useful information too. Not every ache is a trigger point, and generalized soreness after a hard training day responds better to broader work than to hunting for a single spot that isn't clearly there.
Step 2: Choose a Speed and a Position That Actually Lets the Muscle Relax
This is where a vibrating ball earns its place over a plain lacrosse ball for me. The vibration does two things a static ball can't: it gives the nervous system something to focus on besides the discomfort of the pressure, and it seems to encourage the muscle fibers around the point to loosen rather than guard. But the speed setting matters. On a fresh, very tender point, especially early in the week, I start on the lowest of the four speeds. On an older point that's had a few sessions of work already, or on a bigger muscle like the glute, I'll move up to the second or third speed. I treat the four speeds less like an intensity ladder and more like a way to match the nervous system's mood that day, a tender morning gets the lowest setting no matter how deep the point feels, and I only climb the settings once the tissue has told me, through less flinching, that it can handle more input.
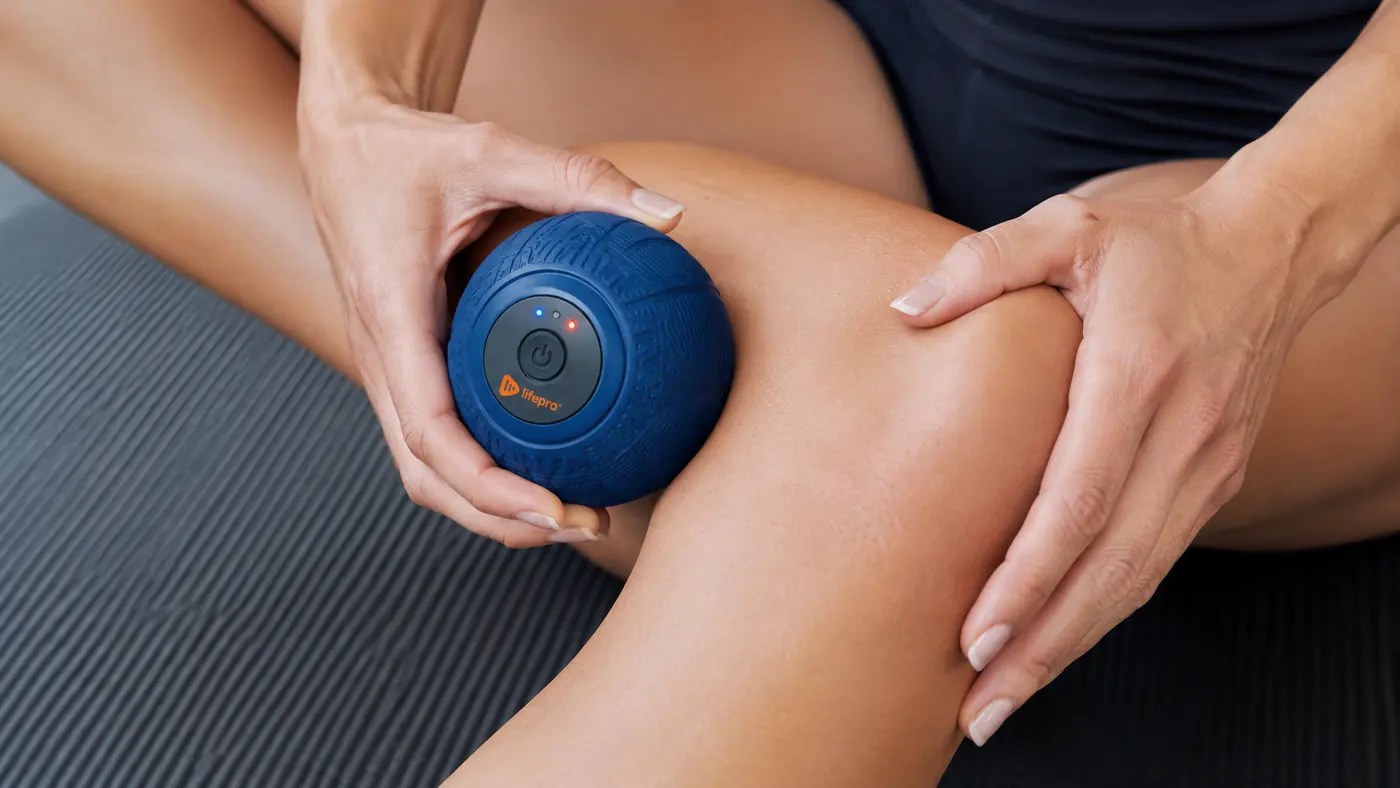
Position the ball directly on the spot you found in step one, then choose a position that lets you control pressure with something other than pure muscle tension. Seated on the floor with the ball under a calf and my hands doing the pressing usually works better for me than standing on it, because standing recruits the exact muscle I'm trying to relax. For a glute point, I'll sit on the ball against a wall or lean into it against the floor, adjusting my body weight rather than gripping anything.
The goal in this step is simply contact and calibration, not compression yet. Get the ball settled on the point, confirm the vibration reaches it, and take a breath or two before adding real weight.
Step 3: Apply Sustained Pressure and Respect the Clock
Once the ball is on the point, hold it there. Don't roll it around the muscle the way you would when working out general soreness, sustained compression is what actually fatigues a trigger point, rolling around just spreads irritation across a wider area without ever loading the one spot long enough to matter. Add pressure gradually over five to ten seconds until you feel a clear ache that's uncomfortable but not sharp, then hold that pressure and let the vibration do its work.
I cap any single point at ninety seconds, and most points I'm working on myself get closer to thirty to sixty. Longer than that on the same spot doesn't produce a better result in my experience, it just risks irritating tissue that's already sensitized. If a point hasn't started to ease at all by ninety seconds, back off, move to a nearby spot, and come back to it another day rather than pushing harder.
There are places I never put this ball, and I'd tell any client the same thing. Skip direct pressure over bony prominences, the spine itself, the front of the shin bone, the point of the hip, the kneecap. Skip the back of the knee entirely and the front of the elbow crease, both sit close to nerves and blood vessels that don't need vibration or sustained compression anywhere near them. If you ever get tingling, numbness, or a sharp electric sensation instead of a dull ache, stop immediately and move off that spot. That's a nerve responding, not a muscle, and pressing through it is never the right call. None of this replaces an actual evaluation if something feels acutely wrong rather than just tight, I'm walking you through a recovery technique here, not diagnosing your pain. I'm also more conservative around any area with visible varicose veins, a recent bruise, or a strain that's still in its first few days, vibration and sustained pressure aren't the right tool for acute injury, only for tissue that's chronically tight or irritated.

Step 4: Add Small Movement to Help the Point Release
Once you've held steady pressure for twenty or thirty seconds and the ache has started to soften even slightly, add gentle active movement while the ball stays in place. On a calf point, that means slow ankle pumps, pointing and flexing the foot while the ball holds pressure on the spot. On a glute point, small hip shifts, rocking slightly forward and back or side to side while staying seated on the ball.
This combination, sustained pressure plus small active movement, is closer to what I'd do with my hands on a client's table than static pressure alone. The muscle contracting and relaxing gently around the point, while it's under load, seems to help the fibers release in a way that holding perfectly still doesn't always achieve. Keep the movement small and slow. This isn't the moment for a big stretch, it's a small pump, repeated eight to ten times, while the ball stays anchored on the same point.
Step 5: Reassess, Then Build It Into a Weekly Rhythm
Lift the ball off and press the spot again with your fingers the same way you did in step one. Compare it honestly. Sometimes the change is obvious, the taut band feels softer and the referred sensation is gone. Sometimes it's smaller than that, just a little less sharp than it was five minutes ago. Both are real progress. A stubborn trigger point that's been there for weeks usually doesn't resolve in one session, and I've had clients get frustrated expecting a single round to fix something that took a month of training load to create.
My own routine lives in my gym bag rather than at home, since I mostly need it after runs rather than before lifting. Three times a week, after my run, I go through this sequence on whichever calf or glute is talking to me that day, usually five to eight minutes total. Over two or three weeks of consistent work, the points that show up tend to need less and less time to settle, and some weeks nothing needs attention at all. That's the sign it's working, not a single dramatic session, but the frequency and intensity of new points gradually dropping off.
The same five steps work on the upper traps and shoulders, which is where my own neck tightness lives after a day spent leaning over a table. I'll stand with the ball trapped between my shoulder and a wall instead of using my hands to hold pressure, since the wall lets me control depth without tiring out my arm halfway through. The taut band there tends to sit just above the shoulder blade rather than right at the base of the neck, and finding it before turning on the vibration matters just as much in that spot as it does in a calf.
What Else Helps
A vibrating ball is one piece, not the whole plan. Trigger points show up faster when training load jumps quickly, when hydration is poor, or when a muscle is being asked to compensate for something tight or weak nearby, the same pattern I see constantly in my own body between long runs and long days leaning over a table. Gradual increases in mileage or load, consistent sleep, and addressing the tissue upstream or downstream of a chronically cranky spot all matter more than any single tool. If you're trying to decide between this and a plain lacrosse ball, I broke down exactly where each one wins in the full comparison, and the vibration made a bigger difference than I expected going in. I also log the longer-term changes, month over month, in my ongoing review of the ball itself, if you want the slower, less tidy version of how this plays out over real training blocks.
A trigger point isn't found by pressing where it hurts most. It's found by following the band until the pain shows up somewhere else.
The Ball That's Lived in My Gym Bag Since the First Week I Tried It
If you keep finding the same stubborn spot in a calf or glute after training, the LifePro Vibrating Massage Ball is worth testing against your own routine. Check today's price and current rating on Amazon.
Amazon Check Today's Price on Amazon →